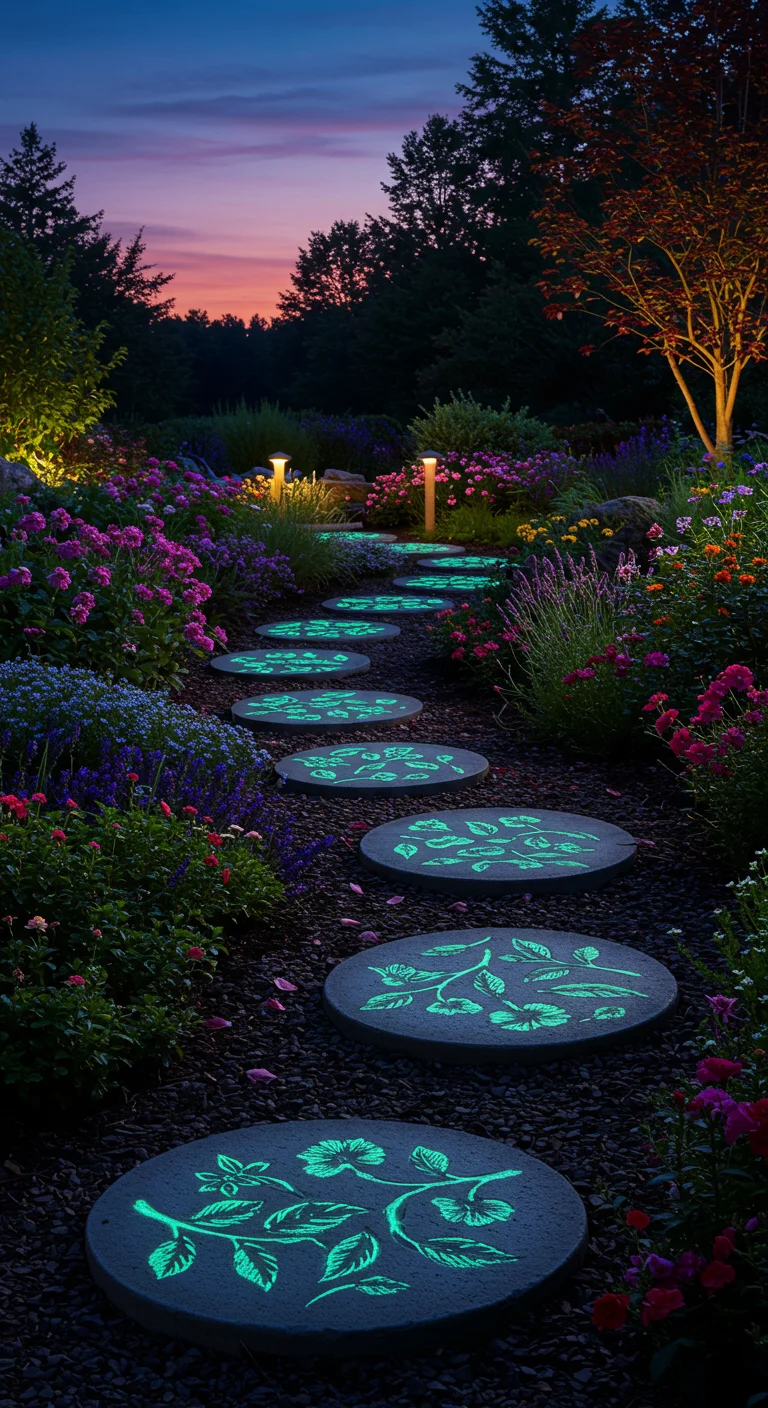
1. Illuminate Your Path: The Magic of Glow-In-The-Dark Stones

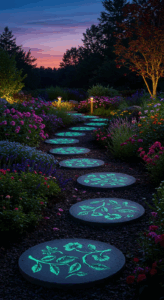
Glow-in-the-dark stones are a captivating way to enhance your outdoor spaces while providing practical illumination. These unique stones absorb sunlight during the day and emit a soft, enchanting glow at night, creating a magical pathway that guides guests and adds a whimsical touch to your garden or yard. To create your own DIY glow-in-the-dark stepping stones, start with a basic concrete mix and incorporate glow-in-the-dark powder, which is widely available at craft stores. You can customize the shape and size of your stones using molds, and even add decorative elements like pebbles or glass beads for added flair. As dusk falls, watch your pathway come alive, turning your ordinary outdoor area into a stunning visual experience that combines functionality and creativity.
2. Gather Your Tools: Essential Supplies for Your DIY Project
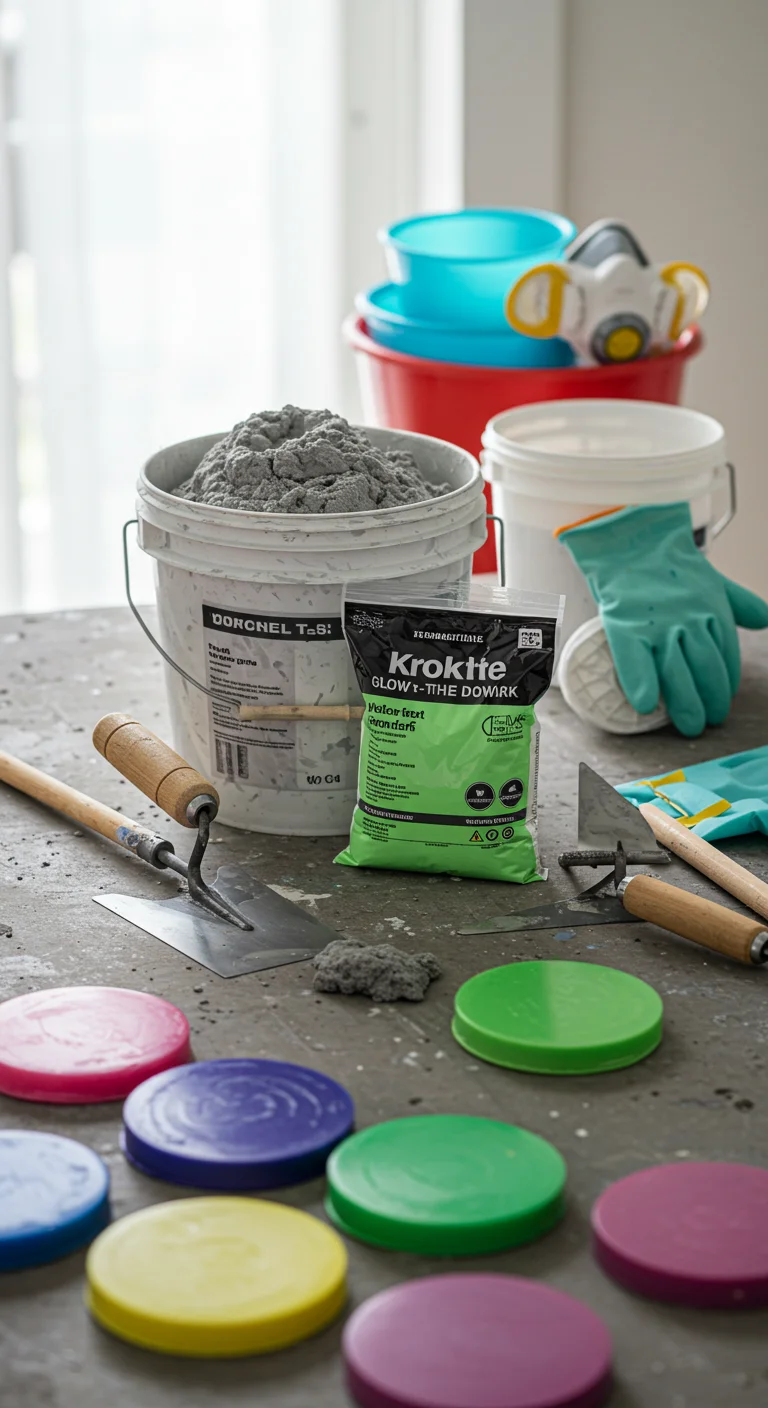
Before diving into your DIY glow-in-the-dark stepping stones project, it’s essential to gather all the necessary tools and materials to ensure a smooth process. Start with a sturdy mixing container, like a bucket or wheelbarrow, for combining your concrete mix and glow-in-the-dark powder. You will need a shovel or trowel for mixing and smoothing the concrete. Don’t forget protective gear such as gloves and a dust mask to keep yourself safe during the mixing process. A mold is crucial, so consider using silicone molds or even DIY options like cardboard boxes lined with plastic. Lastly, have a measuring cup handy for precise proportions of the glow powder to achieve that perfect luminescent effect. With everything prepared, you’ll be ready to create your stunning stepping stones effortlessly.
3. Choosing the Right Design: Patterns and Shapes to Inspire
Choosing the right design for your glow-in-the-dark stepping stones is essential to enhance both their aesthetic appeal and functionality. Consider incorporating natural elements like leaves, flowers, or stones, which can evoke a sense of tranquility in your garden. Geometric patterns, such as circles or hexagons, create a modern look and can be easily arranged to form a unique pathway. Additionally, think about using stencils or molds to achieve consistent shapes, allowing for creativity without sacrificing uniformity. Remember, the key is to balance your design with the surrounding landscape, ensuring that your stepping stones not only glow beautifully at night but also blend seamlessly into your outdoor space during the day.
4. Mixing the Perfect Blend: Crafting Your Glow Mixture
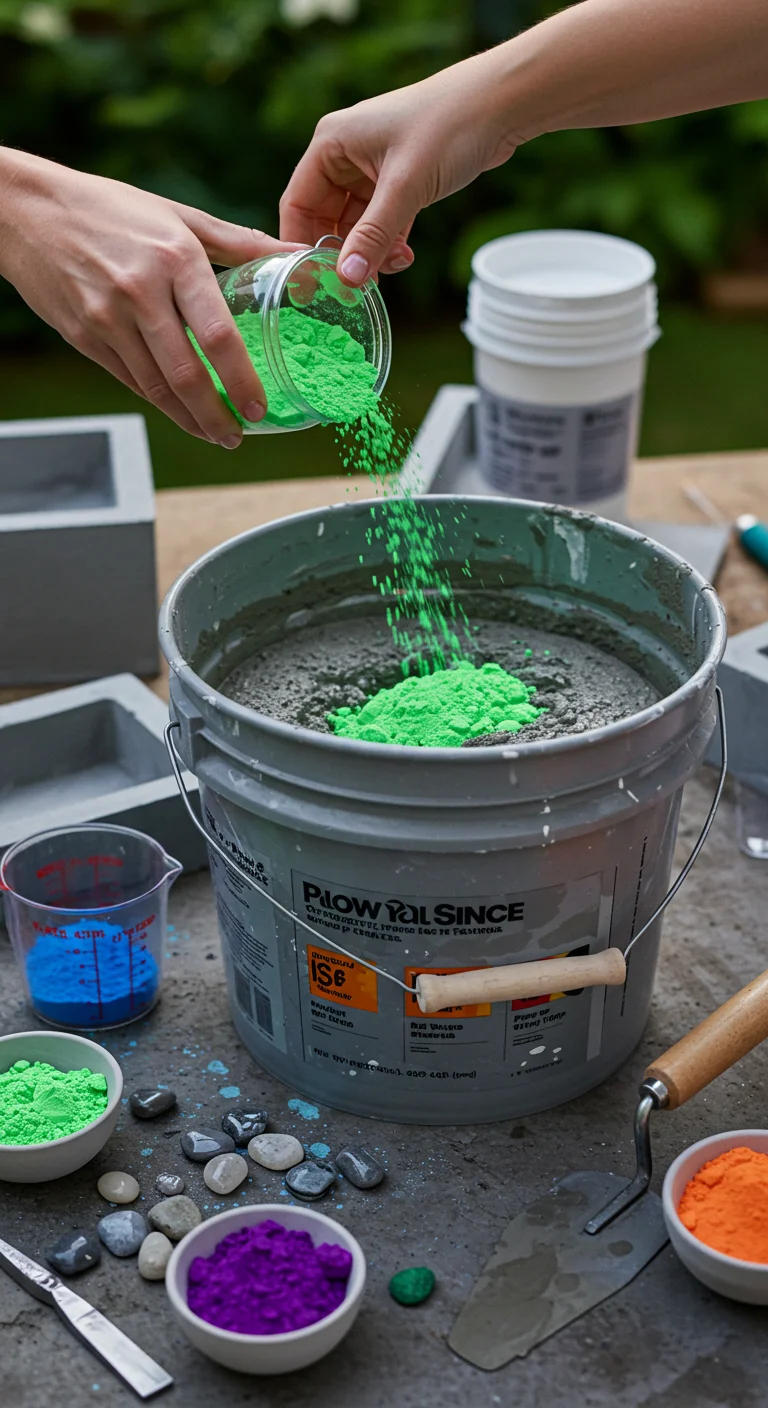
Mixing the perfect blend for your glow-in-the-dark stepping stones involves a careful balance of materials to ensure both durability and luminosity. Start with a high-quality concrete mix as your base, adding a generous amount of glow powder, which can be sourced from craft stores or online suppliers. A suggested ratio is one part glow powder to four parts concrete mix, but feel free to adjust based on the desired brightness. Incorporate water gradually, mixing until you achieve a thick, workable consistency that holds its shape. For added flair, consider integrating colored pigments or decorative stones into your mixture to enhance the visual appeal during the day. Once combined, pour the mixture into your molds, ensuring even distribution for a uniform glow effect at night.
5. Molding the Future: Creating Your Stepping Stone Shapes
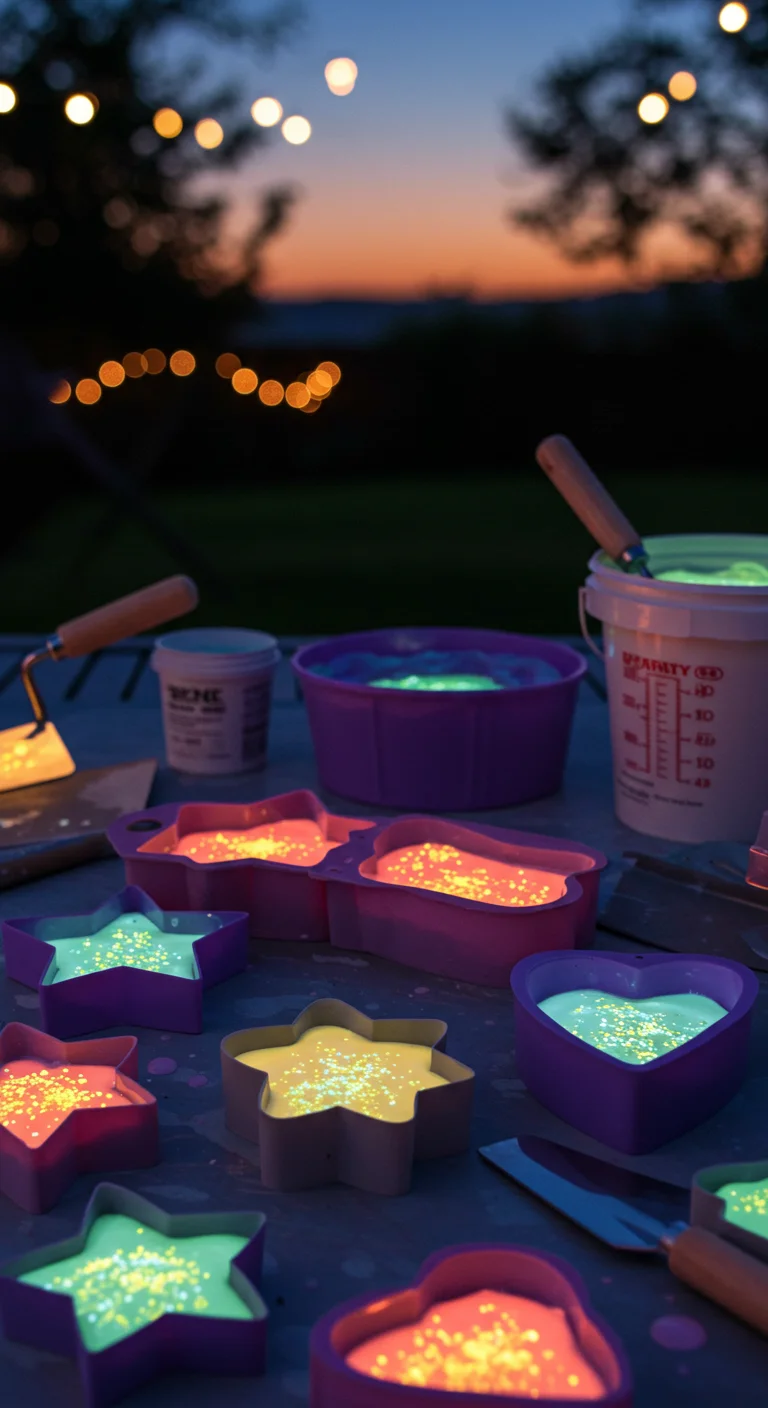
To create your glow-in-the-dark stepping stones, begin by selecting a mold that suits your design preference; silicone molds are ideal for easy release and intricate shapes. Prepare your concrete mix by following the package instructions, ensuring it has a smooth consistency. Before pouring, incorporate glow-in-the-dark powder into the mix to achieve that enchanting luminescent effect. Pour the mixture into the molds, filling them evenly, and then gently tap the sides to eliminate air bubbles. Allow the stones to cure for at least 24 hours before demolding. Once removed from the mold, consider enhancing the surface with a sealant to protect the glow effect and add durability. Finally, place your glowing masterpieces in areas where they can be admired and appreciated, especially in low-light settings to fully showcase their beauty.
6. The Waiting Game: Curing Your Stepping Stones for Optimal Glow
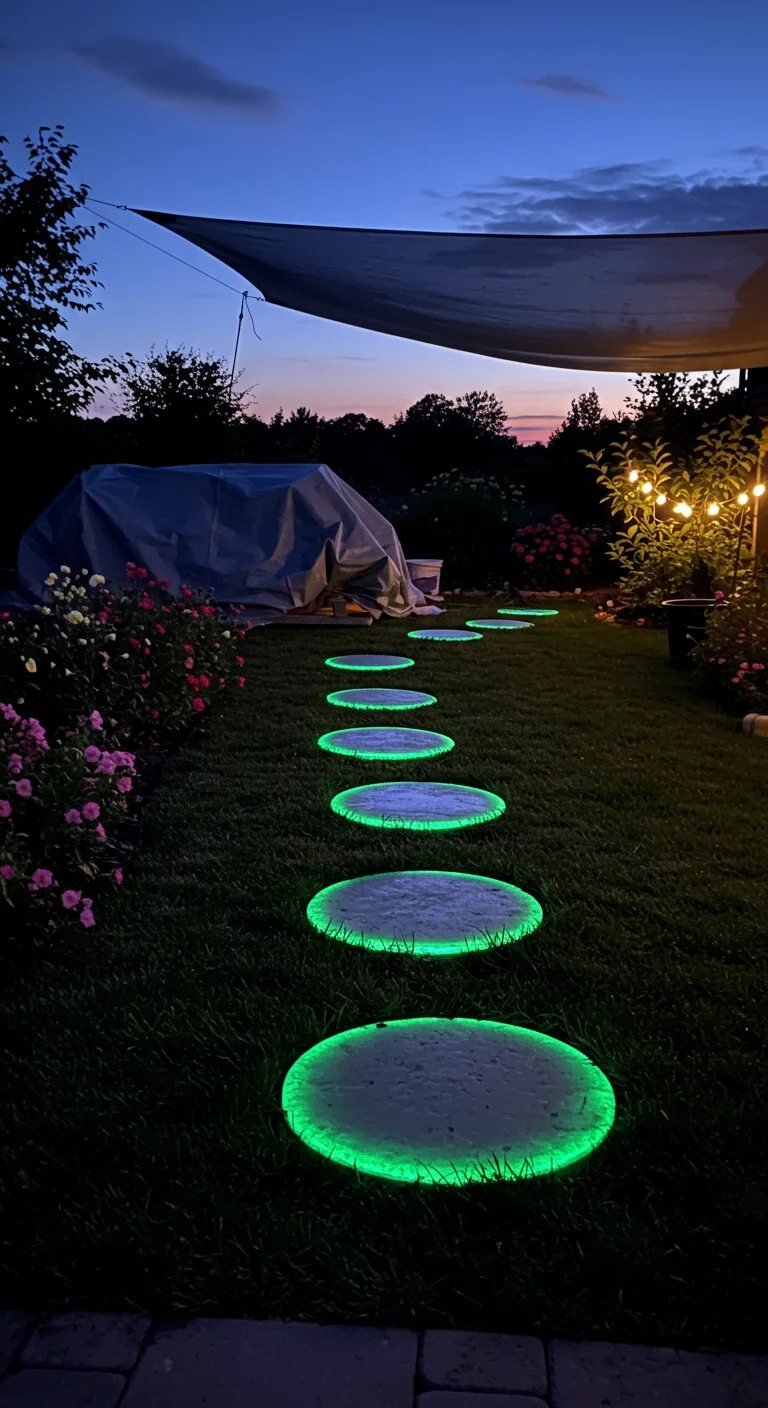
Once you’ve poured your glow-in-the-dark stepping stones, patience is key for achieving that optimal glow. Allow your stones to cure in a cool, shaded area for at least 48 hours to ensure they set properly. Make sure to cover them with a tarp or cloth to protect them from rain or debris during this period. This curing process not only enhances the durability but also maximizes the phosphorescent properties of the glow powder, allowing for a more vibrant glow when night falls. After the curing time, expose them to natural sunlight for a few hours before placing them in your garden to charge. This step is crucial as it ensures that your stepping stones will absorb sufficient light to produce a captivating glow after dusk, creating an enchanting pathway that lights up your outdoor space beautifully.
7. Adding Personal Touches: Customizing Your Glow Stones
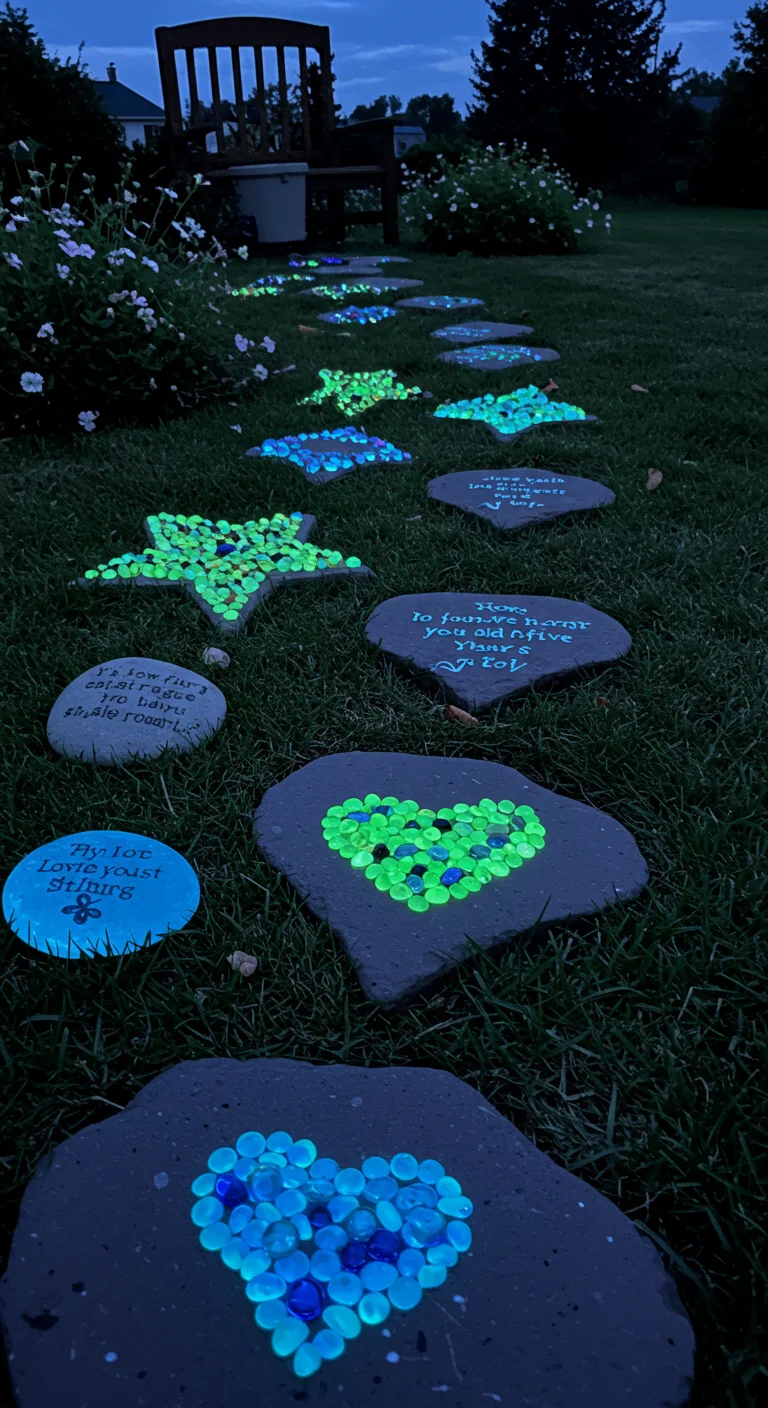
Adding personal touches to your glow stones can make them truly unique and reflective of your style. Consider incorporating various decorative elements such as colorful glass beads, small pebbles, or even shells to enhance the visual appeal. You can also experiment with different molds to create unique shapes—think stars, hearts, or even custom designs that represent your interests. Additionally, using glow pigments in various colors can add depth and vibrancy to your stones, allowing them to shine in different hues when the lights go out. Don’t forget to personalize your stones with paint or stencils, adding quotes or images that inspire you. These customizations not only beautify your garden paths but also create a warm, inviting atmosphere that showcases your creativity and personality.
8. Placement Perfection: Strategically Arranging Your Stepping Stones
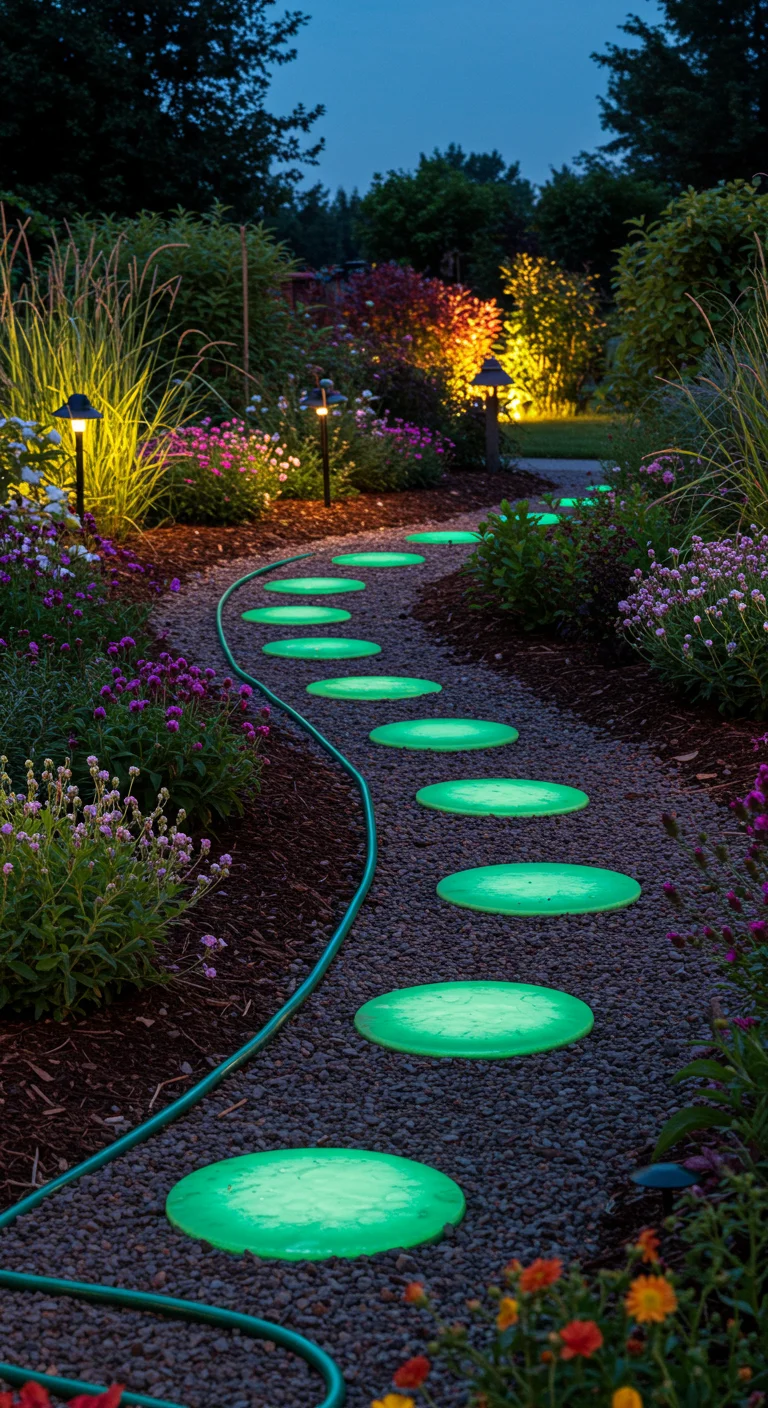
To achieve placement perfection with your glow-in-the-dark stepping stones, begin by strategically mapping out the path you wish to create in your garden or yard. Consider the natural flow of foot traffic, ensuring that the stones are spaced evenly—typically 2 to 3 feet apart—to allow for comfortable walking. Utilize a garden hose or string to outline the desired shape, making adjustments to fit the landscape. Once satisfied with the layout, mark the positions with small stakes or chalk. When installing the stones, ensure they are level with the ground to avoid tripping hazards and enhance visibility at night. Additionally, consider placing stones in a way that highlights existing plants or features, creating a captivating visual effect that draws the eye and enhances the nighttime ambiance of your outdoor space.
9. Maintenance and Care: Keeping Your Glow Stones Shining Bright
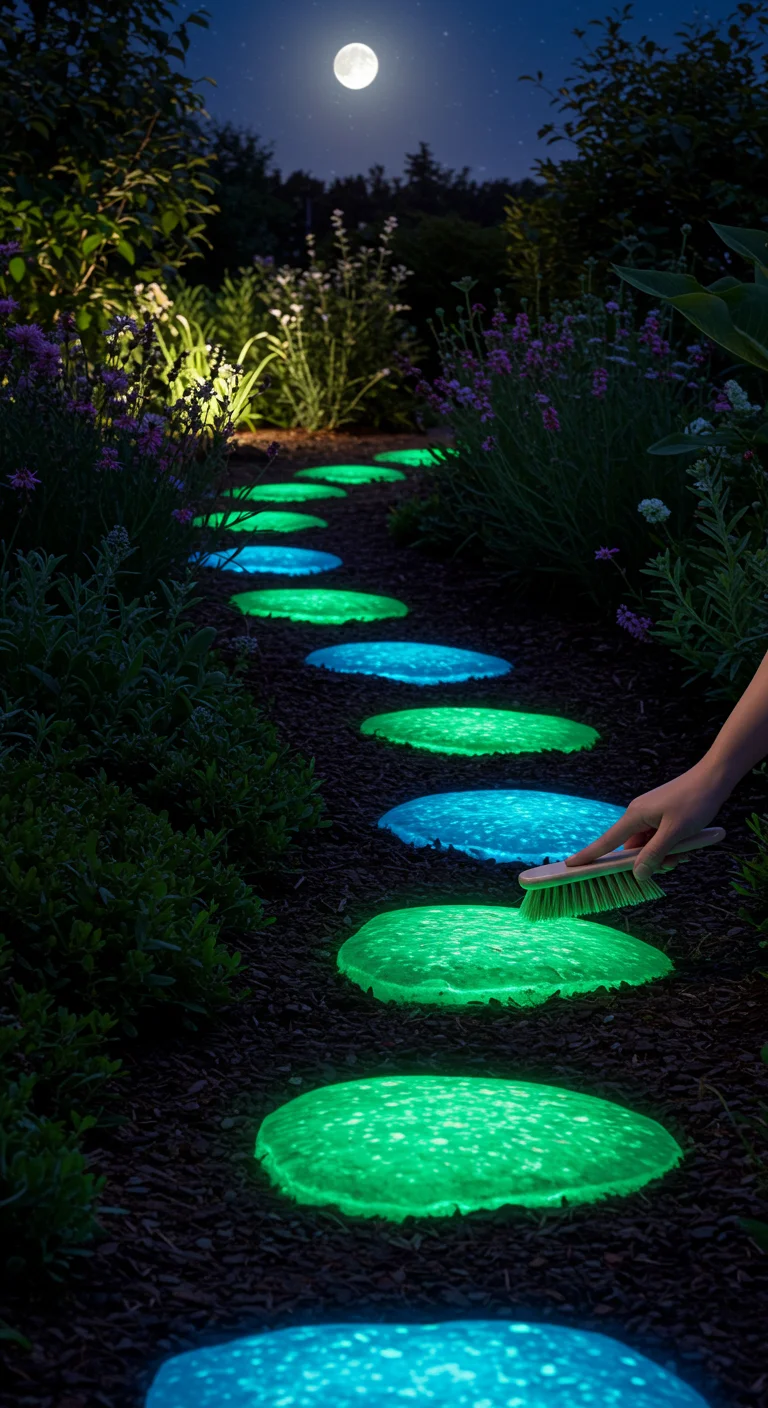
To keep your glow stones shining bright, regular maintenance is essential. Start by gently washing the stones with a soft brush and mild soap to remove dirt and debris; this will ensure the glow-in-the-dark pigment remains effective. Avoid harsh chemicals or abrasive materials that could damage the surface. After cleaning, allow them to dry completely before applying a clear sealant, which can protect the stones from the elements and keep their glow vibrant. Additionally, periodically check for cracks or chips and repair them promptly with epoxy or resin. Position your stones in areas where they receive ample sunlight during the day, as this will recharge their glow-in-the-dark properties, ensuring they radiate beautifully at night. With proper care, your glow stones can last for years, adding enchantment to your outdoor space.